Rapid Proto Slipcasting
Introduction
Slipcasting is one of the most widespread modes of mass ceramics manufacturing. It is used to produce products like cups and pots. It is a mold-based technique that is used to get many copies of one design. The tradition method of mold making for slipcasting requires technical sculpting skills that make the barrier to entry too high for many people interested in the technique.
I want to increase the accessibility of slipcasting by utilizing rapid prototyping techniques that I have learned to master through my work at the DAAP Rapid prototyping Center. Utilizing rapid prototyping machines to produce molds for slipcasting removes the barrier of mastering sculpting prior to being able to make a mold. Widespread CAD (computer aided design) tools can be used to design the product digitally and then molds can be created through 3D printing or CNC machining. This could greatly increase the accessibility of slipcasting and in turn the ability of people to realize their creative vision.
Model Design
I started my process by designing a cup form for slip casting that exhibited some of the unique capabilities of the process. I began sketching around a coffee cup concept and landed on a minimalist interpretation of a coffee cup where the handle is carved into the cup form allowing for a simple place to grip the cup (top left image). I quickly modeled the cup up and began experimenting with sizes and proportions through 3D printing prototypes (top right image). Once I was comfortable with the design I created experimented with different finishes through computer rendered visualizations (left). This allowed me to get an idea of what the finished product would look like without investing time and money in making anything for real.
The process of designing the cup virtually, quickly validating and iterating with 3D prints demonstrates the increased accessibility of this process as the conventional approach would be hand throwing or sculpting prototypes. In contrast to this manual, time-intensive workflow, the virtual process allows the application of more widespread design tools that many more School of Design students have already developed.
Mold Design
The next step was design the slipcasting molds themselves. Slipcasting works by filling a plaster mold with a watery clay solution called slip. The plaster in the mold absorbs water out of the solution, drying a thin wall where the slip interfaces with the mold. After sometime the excess slip is poured out and the mold is opened leaving thin walled pottery ready to be fired.
Traditionally the plaster mold is made from a positive of the final model that must be sculpted at a 10% scaled volume to account for the shrinkage of the final part during firing. The plaster mold is created off of this positive by casting half of the object at a time in plaster to get a two part negative mold that is ready for the slip casting process (to the right you can see an image of a two part mold from this project)
The goal for me was to designs methods of using rapid prototyping tools to create molds quickly from digital designs. There were two methods of rapid prototyping that I pursued with my research. 3D printing, and CNC machining as they are the two most prevalent rapid prototyping technologies.
Here you can see an digital overview of the different elements of my research:
1 - Digital 3 part plaster mold design. This intended mold design after being cast off of the positive CNC or 3D print models.
1a -Mold left
1b -Mold right
1c -Bottom retainer
2 - Digital cup design. This is the intended result after being slipcast and fired.
3 - 3D printable positive for the casting of the plaster mold.
4 - CNC positive for the casting of the plaster mold.
4a - positive left
4b - positive right
Some elements to note:
-The plaster mold must be 10% larger than the final part because ceramics shrink when fired.
-On the top of the positives you will notice two stair steps. This is called a top spare and it allows for over filling of the plaster mold and increased strength of the part once it is removed from the mold. This is cut off prior to firing
-Half spheres on the plaster mold are for indexing to ensure the mold comes together in the right place every time.
In the following sections I will get into more detail on each process.
CNC Machining Mold Making
CNC machining is a very precise subtractive manufacturing technique. A endmill (similar to a drill bit) is spun at high speeds and computer controlled in 3+ axes to carve out a design from a block of material. This means CNC machining is highly suited to making larger models when compared to 3D printing because 3d printers must build up the extra volume. Because of this I chose to design each half of the final plaster mold as opposed to a single positive that would be cast in the traditional two steps.
To the right you can see the CNC program I made to create the positives for the plaster mold. Unfortunately due to the COVID-19 closures I was unable to finish manufacturing the mold.
Some notes on the missed opportunities:
-One of the issues I was running into with this process was successfully milling corners where walls intersect non-perpendicularly due to limitation in tooling I was going to recommend design guidelines to work around these weak points.
3d Printing Mold Making
The 3D printing strategy I settled on was similar to the traditional way of plaster mold making I described earlier only with the substitution of a 3D printed positive rather than a hand made one. The intended process is that a positive would be 3d printed then half of the positive would be cast in plaster and dried then the other half would be cast to ensure a two part mold. An additional bottom spare was added to allow for easier mold release once cast.
To the right you can see the positive and bottom spare being prepared for 3D printing on a computer. One of the major considerations when 3D printing is the orientation of the part. The mode of 3D printing I utilized is Fused Deposition Modeling (FDM). In this process plastic is extruded in space to create a desired form. This process however leaves stair stepping the height of each layer. If not controlled this can result in less-than-desirable surface finishes that would be transferred to the plaster mold and in turn the final ceramic part. After some experimentation I found that a vertical upright orientation worked the best.
I was able to work with my Mentor Colin Kilmesh to create a plaster mold off of a 3D print prior to the closure of the DAAP facilities. You can see the result below: both the 3D printed positive and the plaster negative.
Unfortunately I was not able to pursue this any further due to the shutdown. My intention was to see how this mold design preformed then make revisions.
Studying Abroad at TU Delft (2018-19)
This past semester I was fortunate enough to be one of three students selected to attend an exchange semester at TU Delft in the Netherlands. This was a first for me as well as for the University of Cincinnati as we were the first class of students to attend TU Delft from our program. I participated in a master’s level exchange with a focus on integrated product design and advanced concept development. I spent my semester working with a group of other international students to deliver a proposal for the next generation microgravity research workspace for the future of manned space flight. I have put together a video explaining the exchange for future UC study abroad students that sheds light on what to expect and gives context to the program:
I grew immensely as a designer at TU Delft. I was exposed to completely new prospectives and approaches to design. TU Delft holds a uniquely methodological approach to design. I learned about different theories of approaching product development and innovation as well as project management. These more quantitative methodological approaches served as an interesting counterpoint to the more qualitative approach to design that have grew accustom to at UC. I found myself pushed to conduct thorough user research studies and deep literature reviews of academic papers to inform my design decisions. For me this was valuable alternative to the more ethnographic ‘deep dive’ studies and rapid user testing that I have been practicing.
As much of the curriculum was focused on group work, I was able to learn and swap design approaches with Dutch and other international students as we tackled hard design problems hands on. This resulted in a mixing of design methodologies and approaches to problem-solving from many different schools of thought. I never fully appreciated how wide the field of design was before being exposed to so many different perspectives.
The focus on group work also taught me a lot about myself and how I function working in a team. I learned how stubborn and slow to compromise I could be. Early in group work I would find this slowing down our process as much of the time would be spent discussing how to accomplish something but not actually working. I grew to recognize my tendencies as time progressed. Though I have a long way to go I feel that I have made a start in becoming a better team player.
Most of all I grew in my world and cultural understanding. I was always told that studying abroad is life changing but I always assumed that this was a result of learning how another culture lives and expanding your prospective. For me the prospective expanding moment was more of a realization how similar life is regardless of context. I went into this experience looking for differences to expand my horizons but what I quickly found was just how much of life is the same. I put together a video reflection of this with the clips of video I have collected while abroad:
This experience I will not soon forget. I feel that I have grown bother professionally as a student of design and personally as a globally minded individual. I have learned so much about my field and about myself. Most of all have gained friends from all over the world. With luck these connections will go some way to making this world just a little bit smaller. After all, I feel that it is bonds like these that hold the world together, particularly in light of recent events.

Building a Guitar (2017)
Since I was a kid I dreamed about making my own guitar. I have binders full of old doodles of guitars on my wide ruled school paper from elementary school. It has been a long time coming but
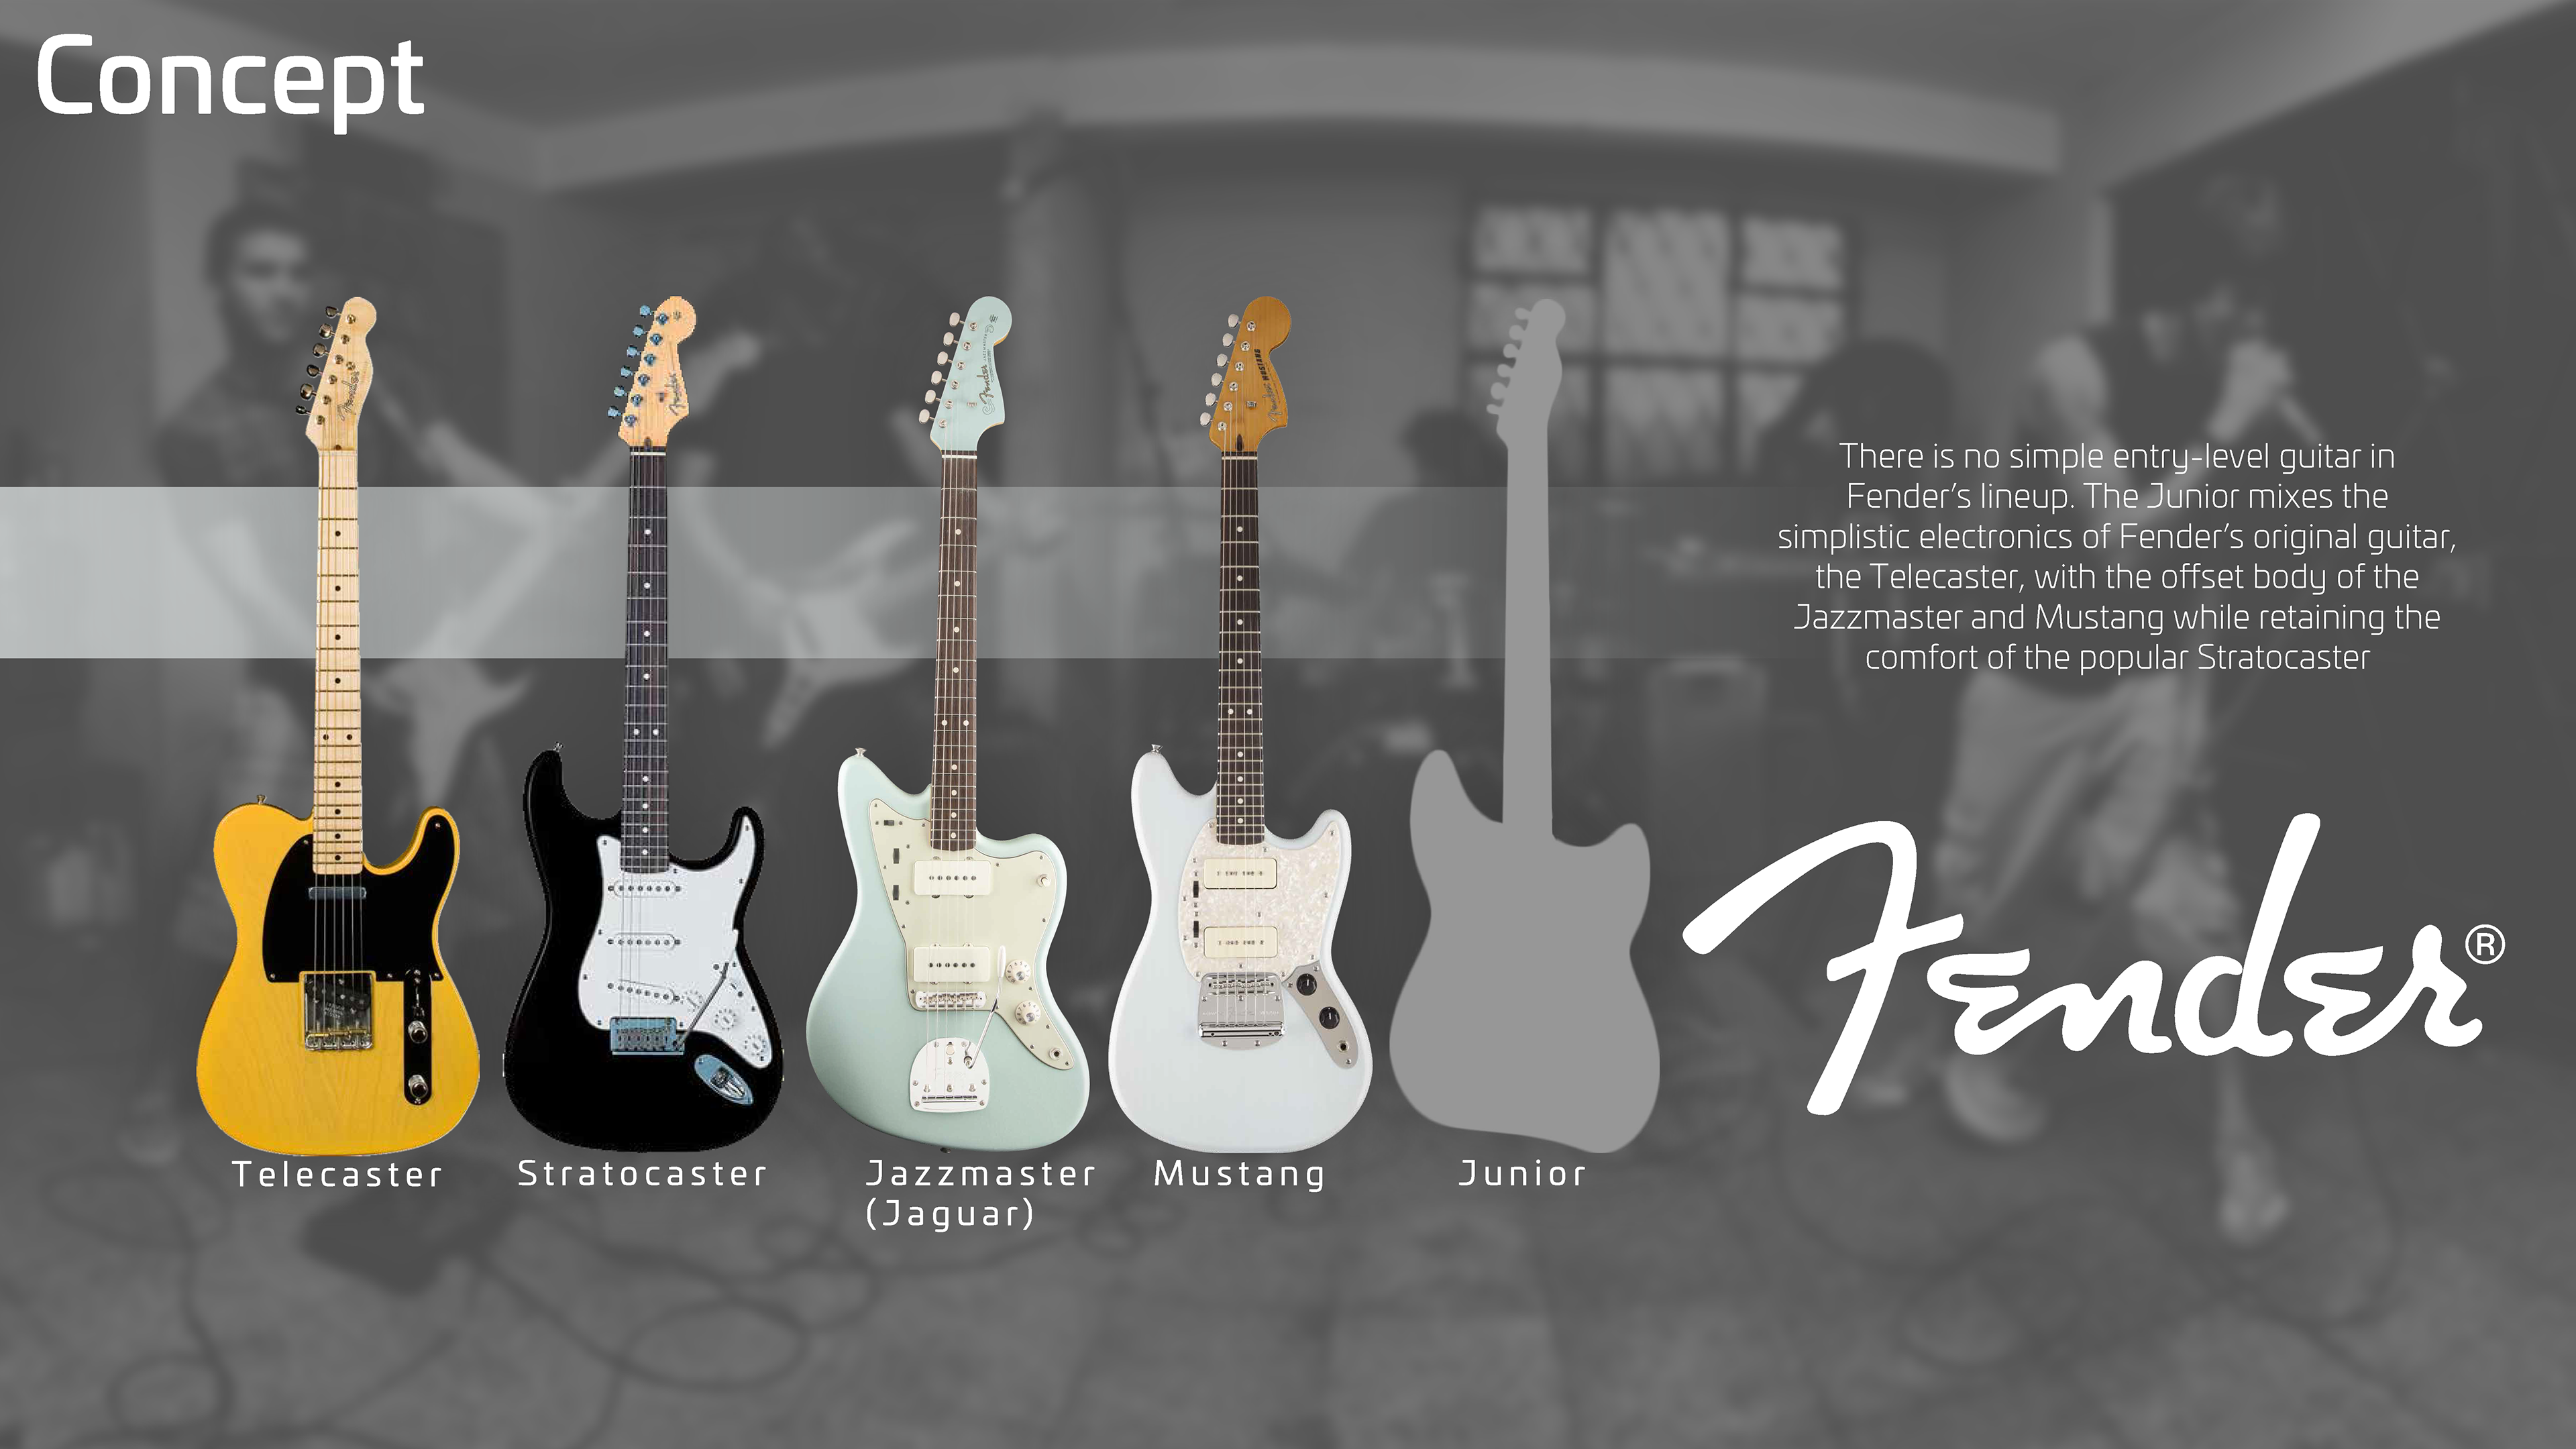
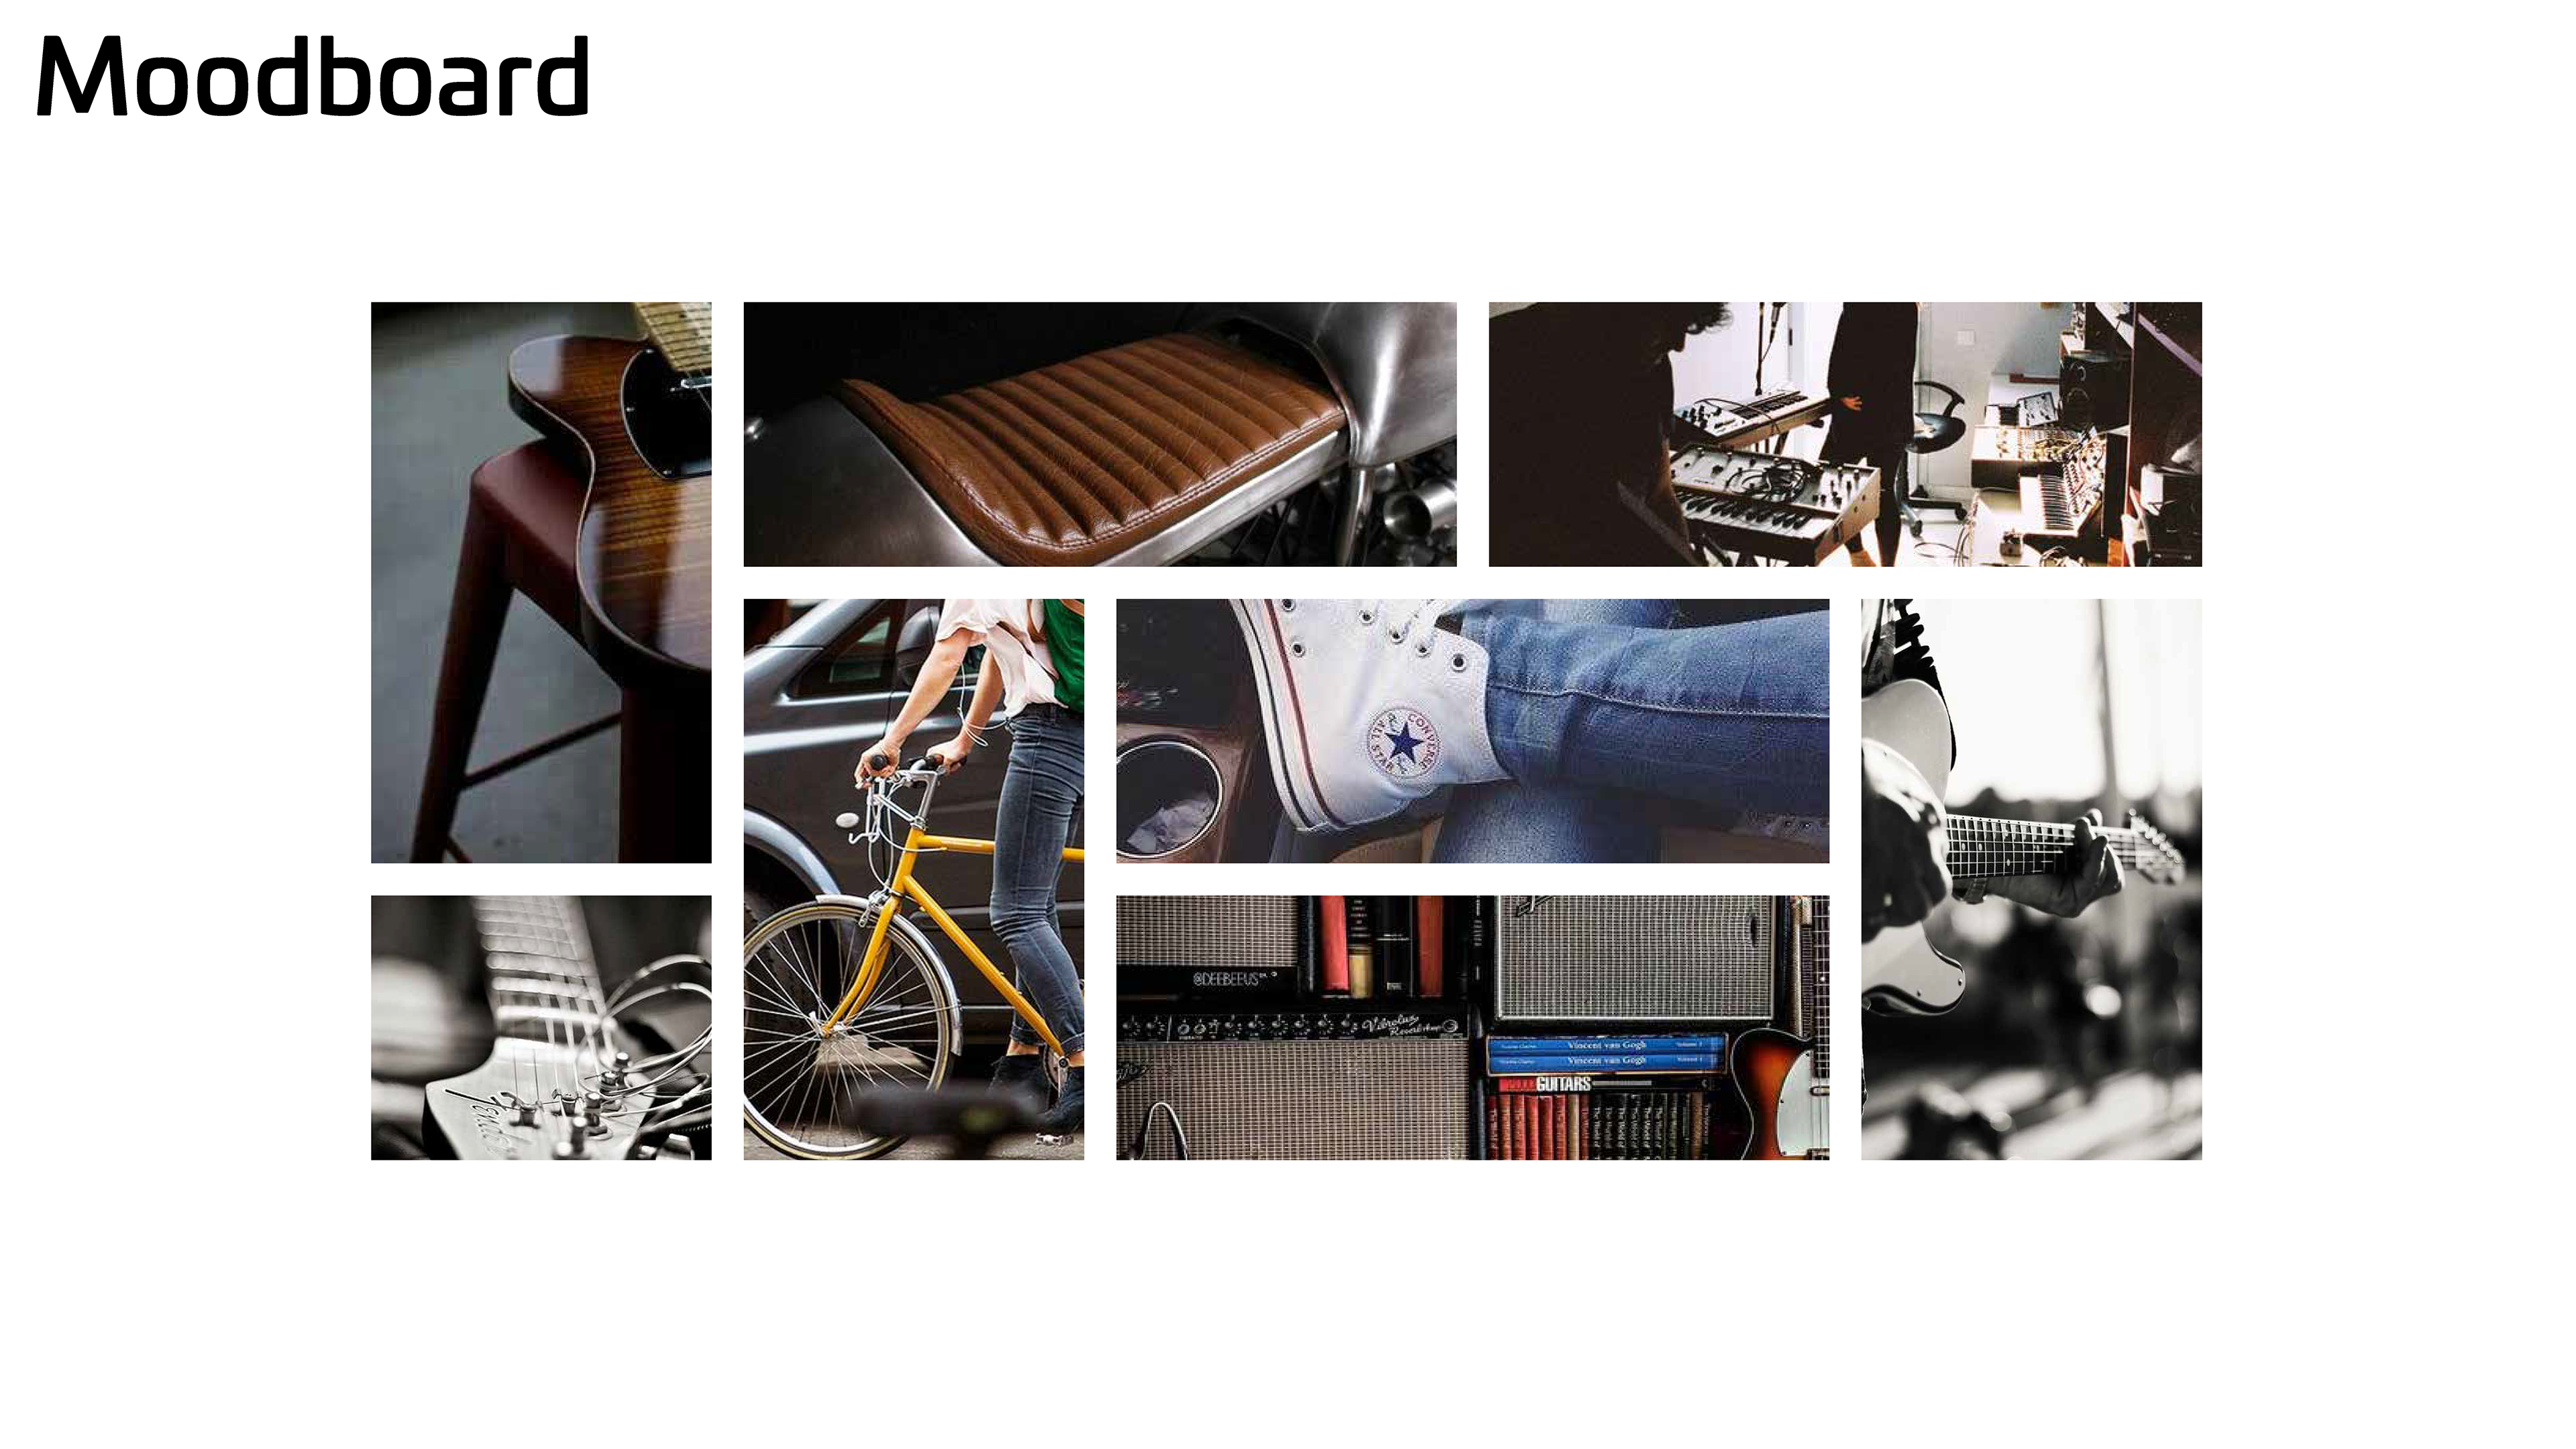
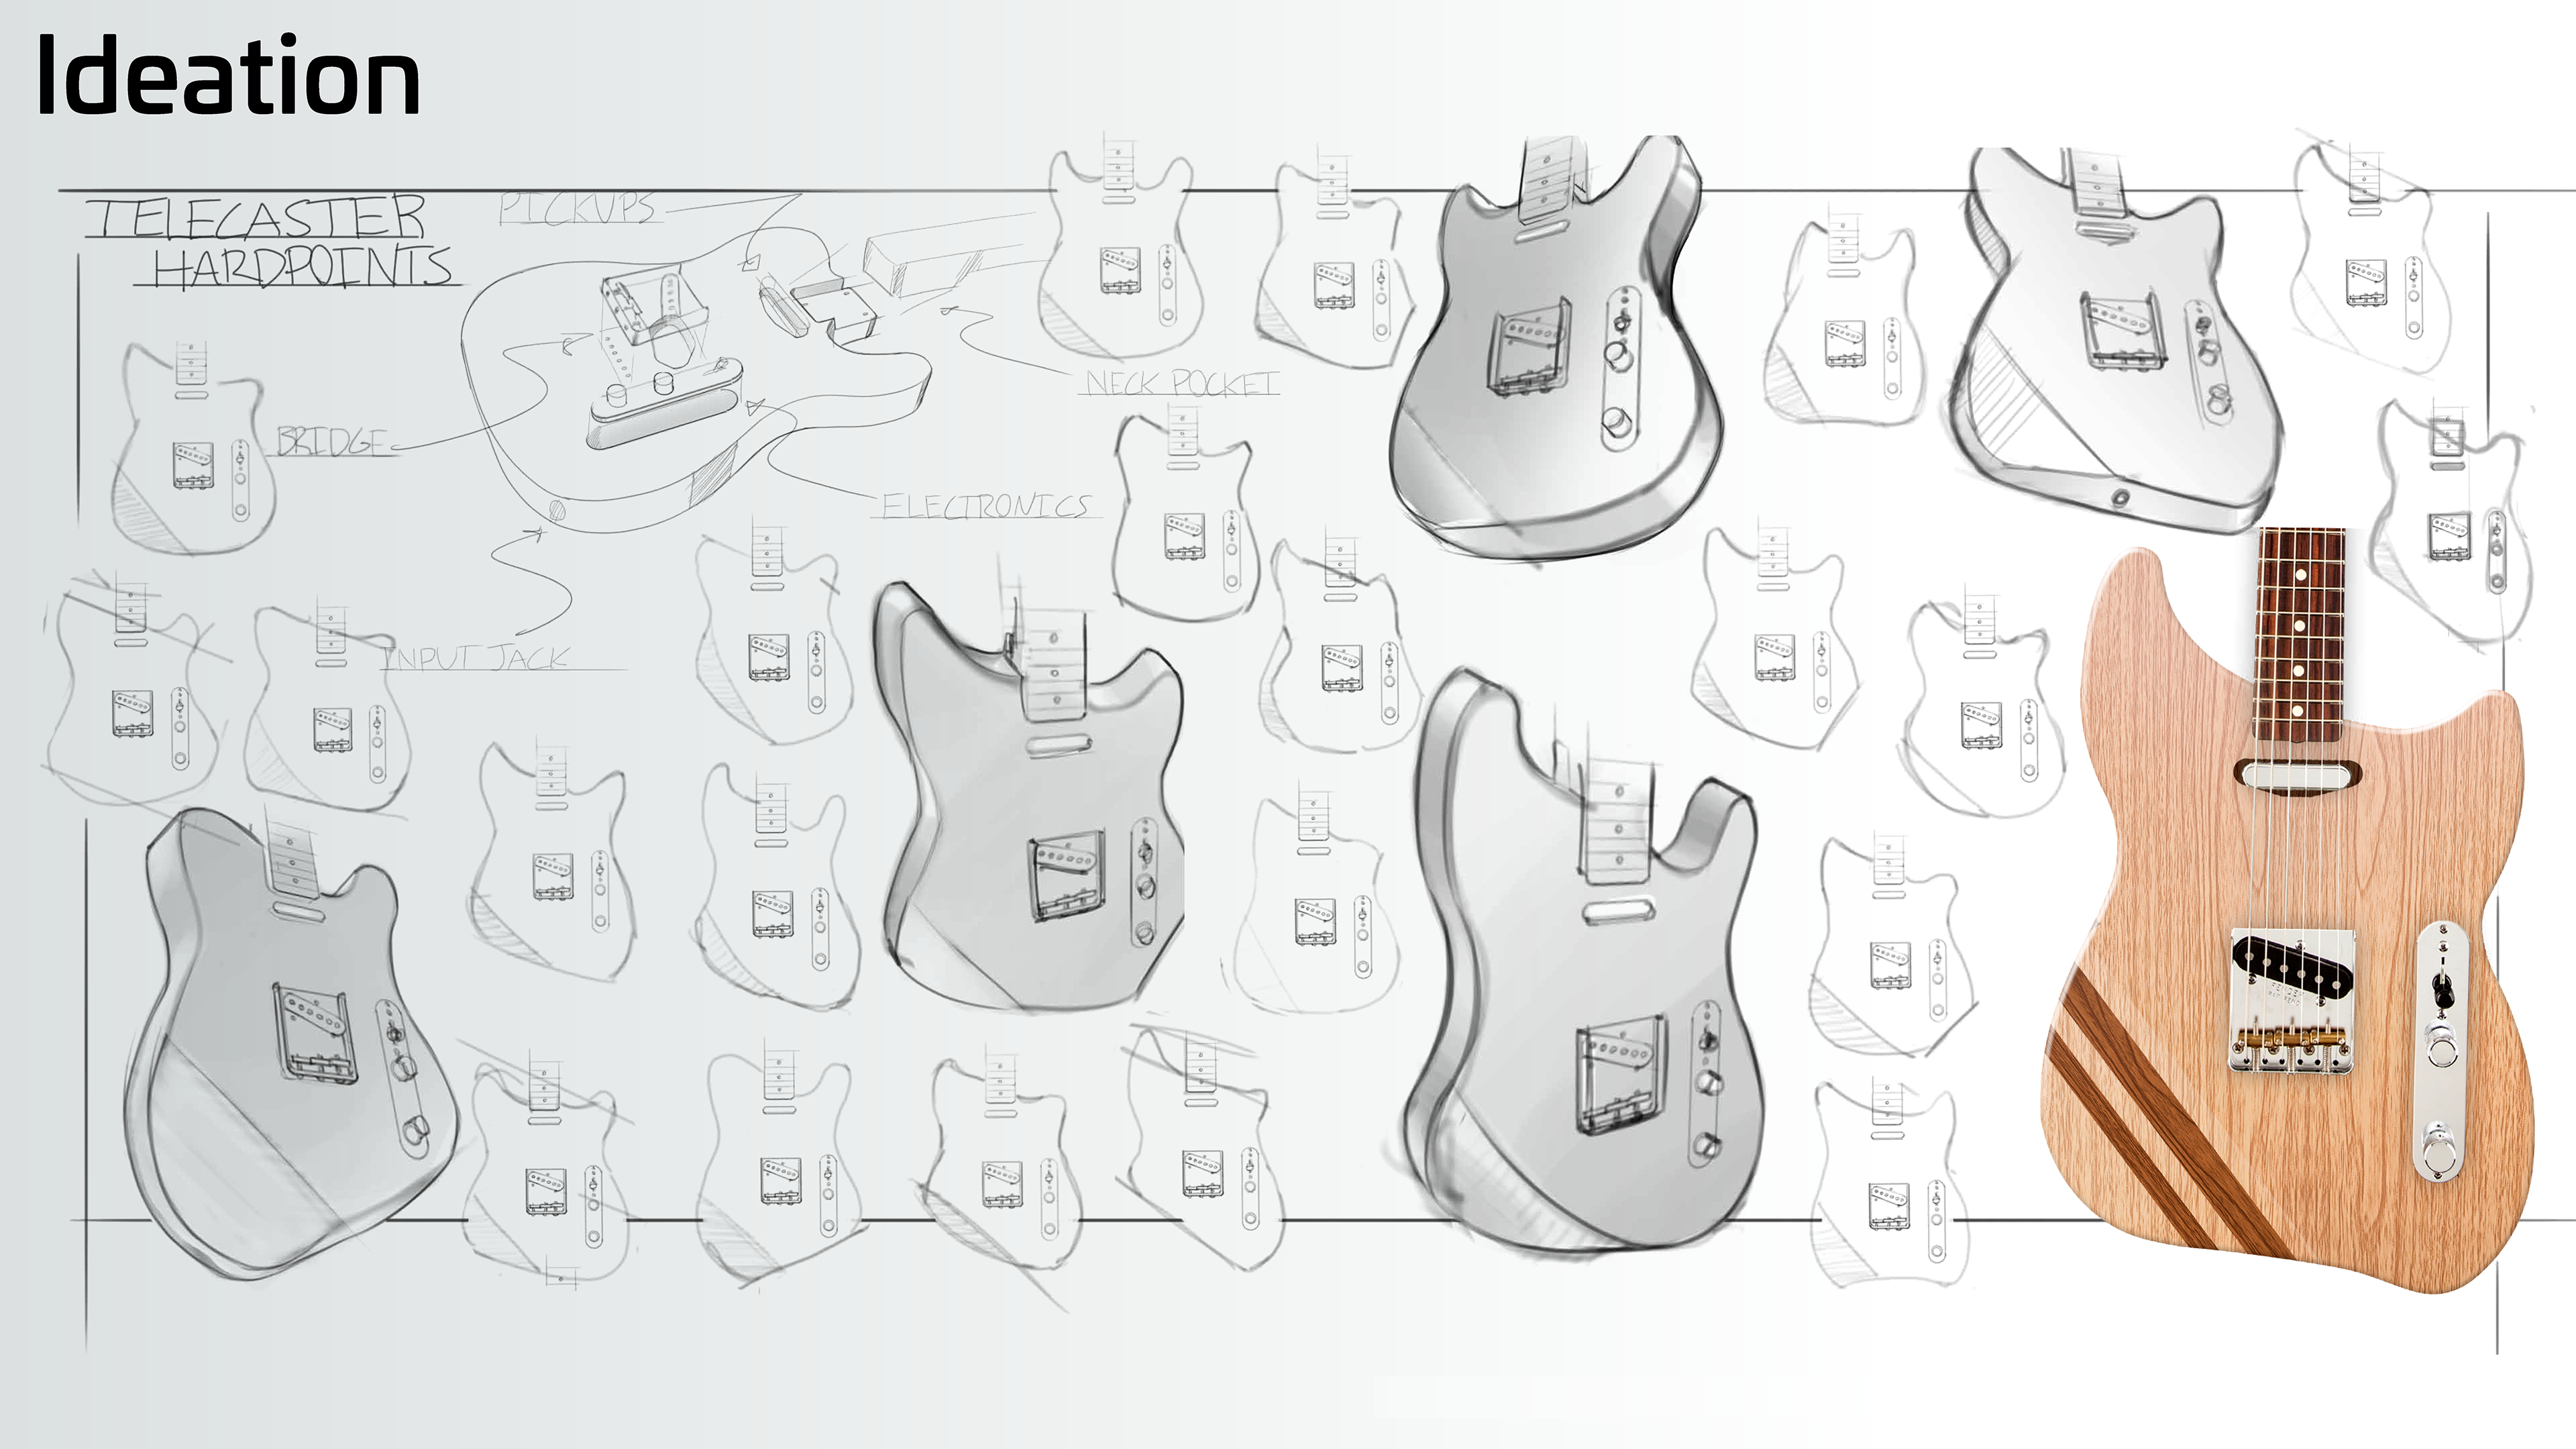
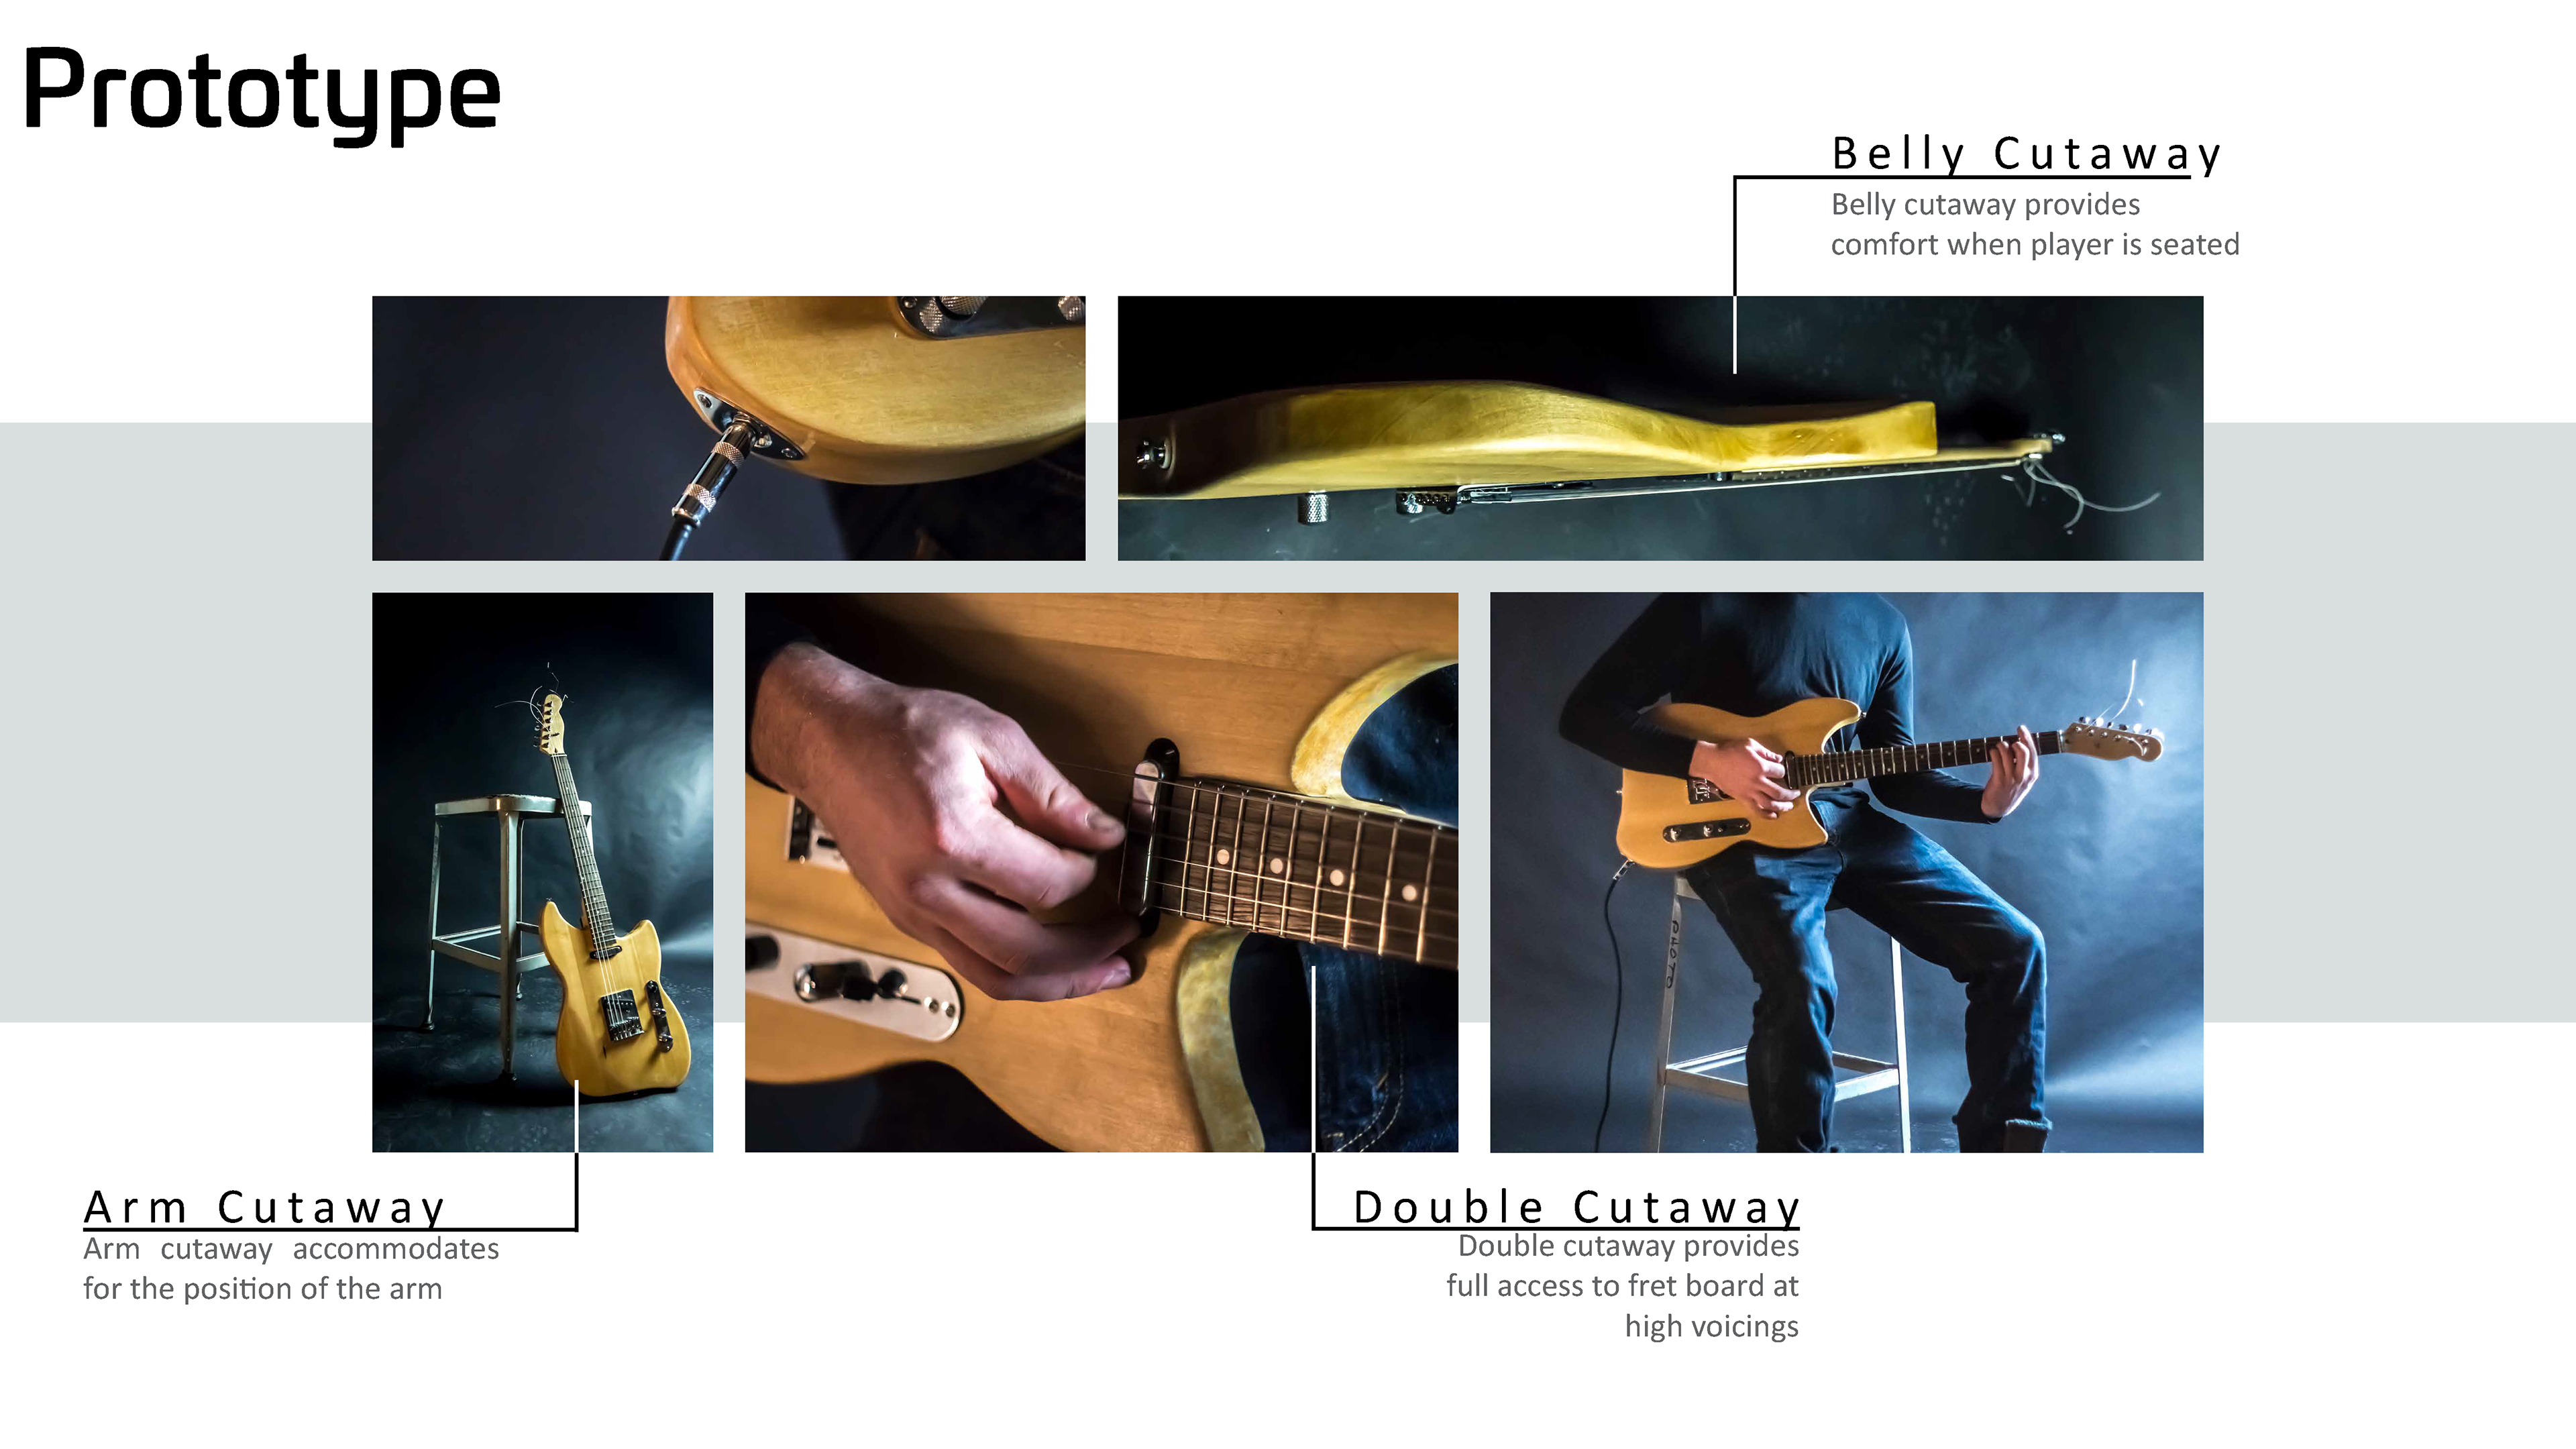
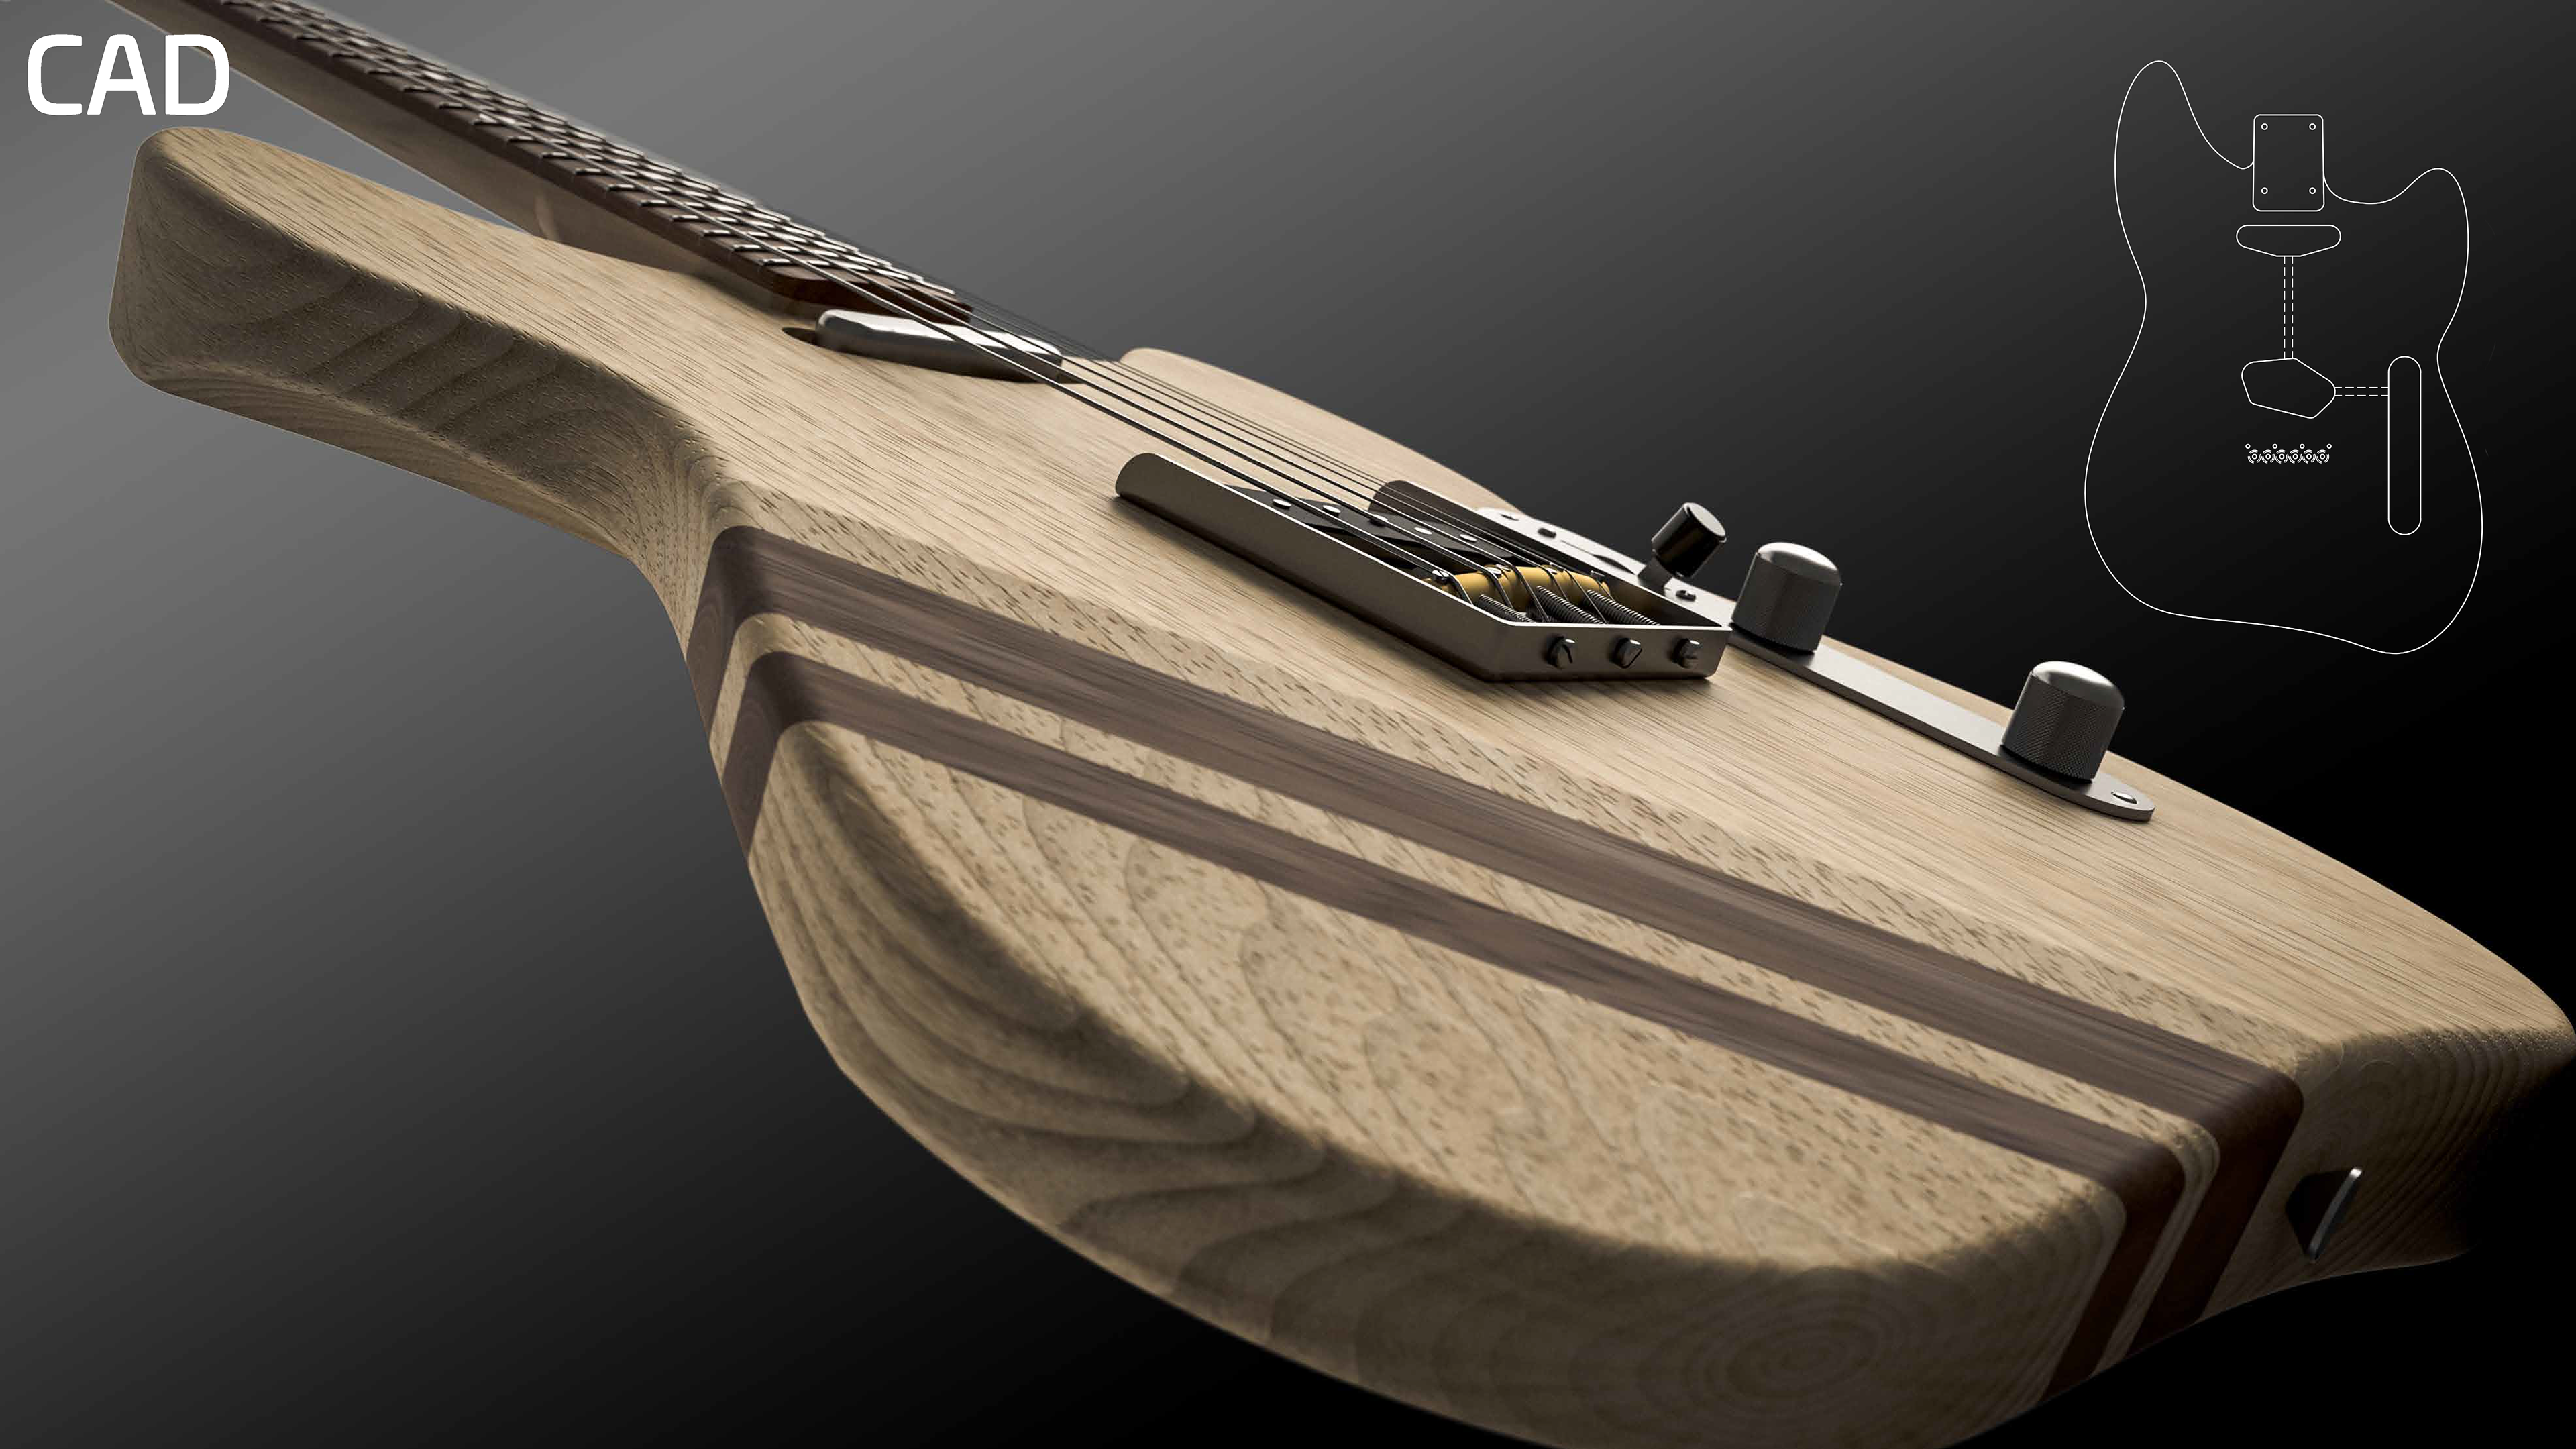
The goal I have myself was to design and build an electric guitar that fit into an established brand’s lineup. I followed a user-centered design approach where throughout the design process I used woodworking and rapid prototyping to execute my design intent in a physical working model. I started the prosses by analyzing the current guitar offerings of Fender (a premier guitar manufacturer), and identified a market opportunity for the brand in an entry-level student guitar. I then explored ideas (what us design types call ideating) on what an entry-level guitar would be for Fender by implementing a user-centered design and continually asking the question: what the target consumer would want from this guitar? I started with sketches then refined my design in CAD (computer aided design). During this process, I tried to keep in mind how the guitar would be manufactured so the execution of the design would be economical. I used rapid prototyping technologies like laser cutting and CNC machining to produce a prototype and final functional model.
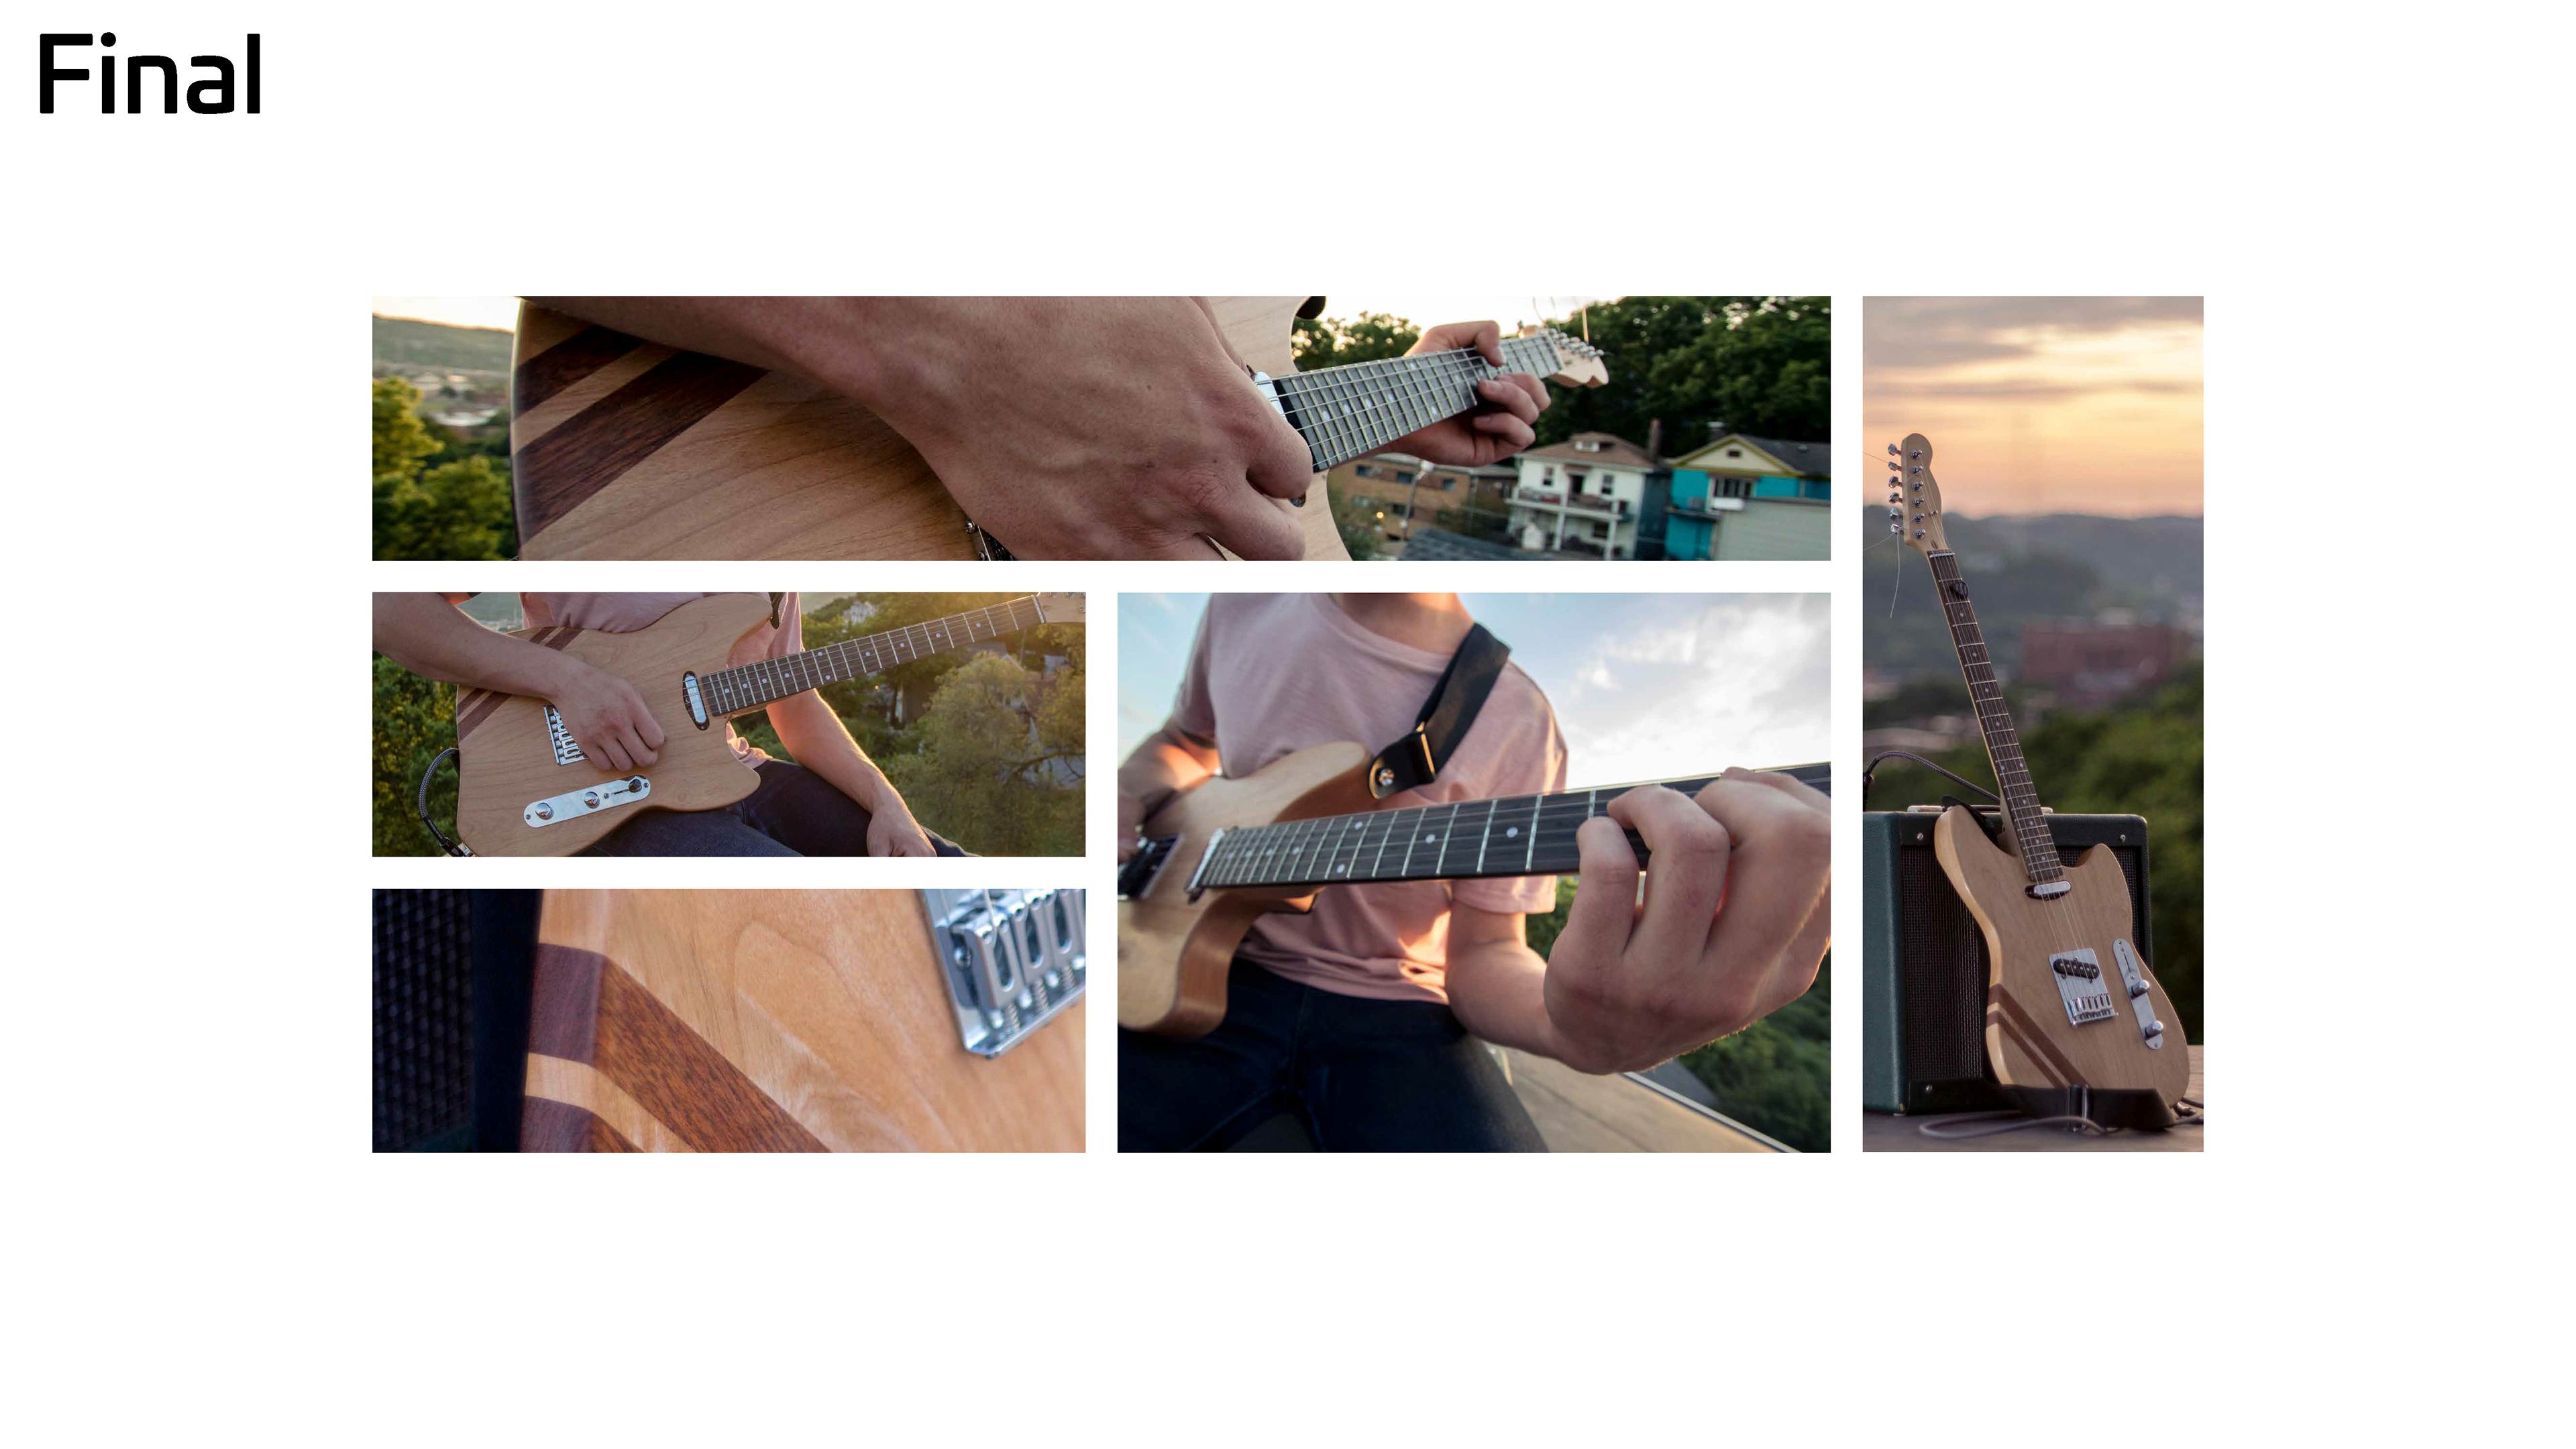
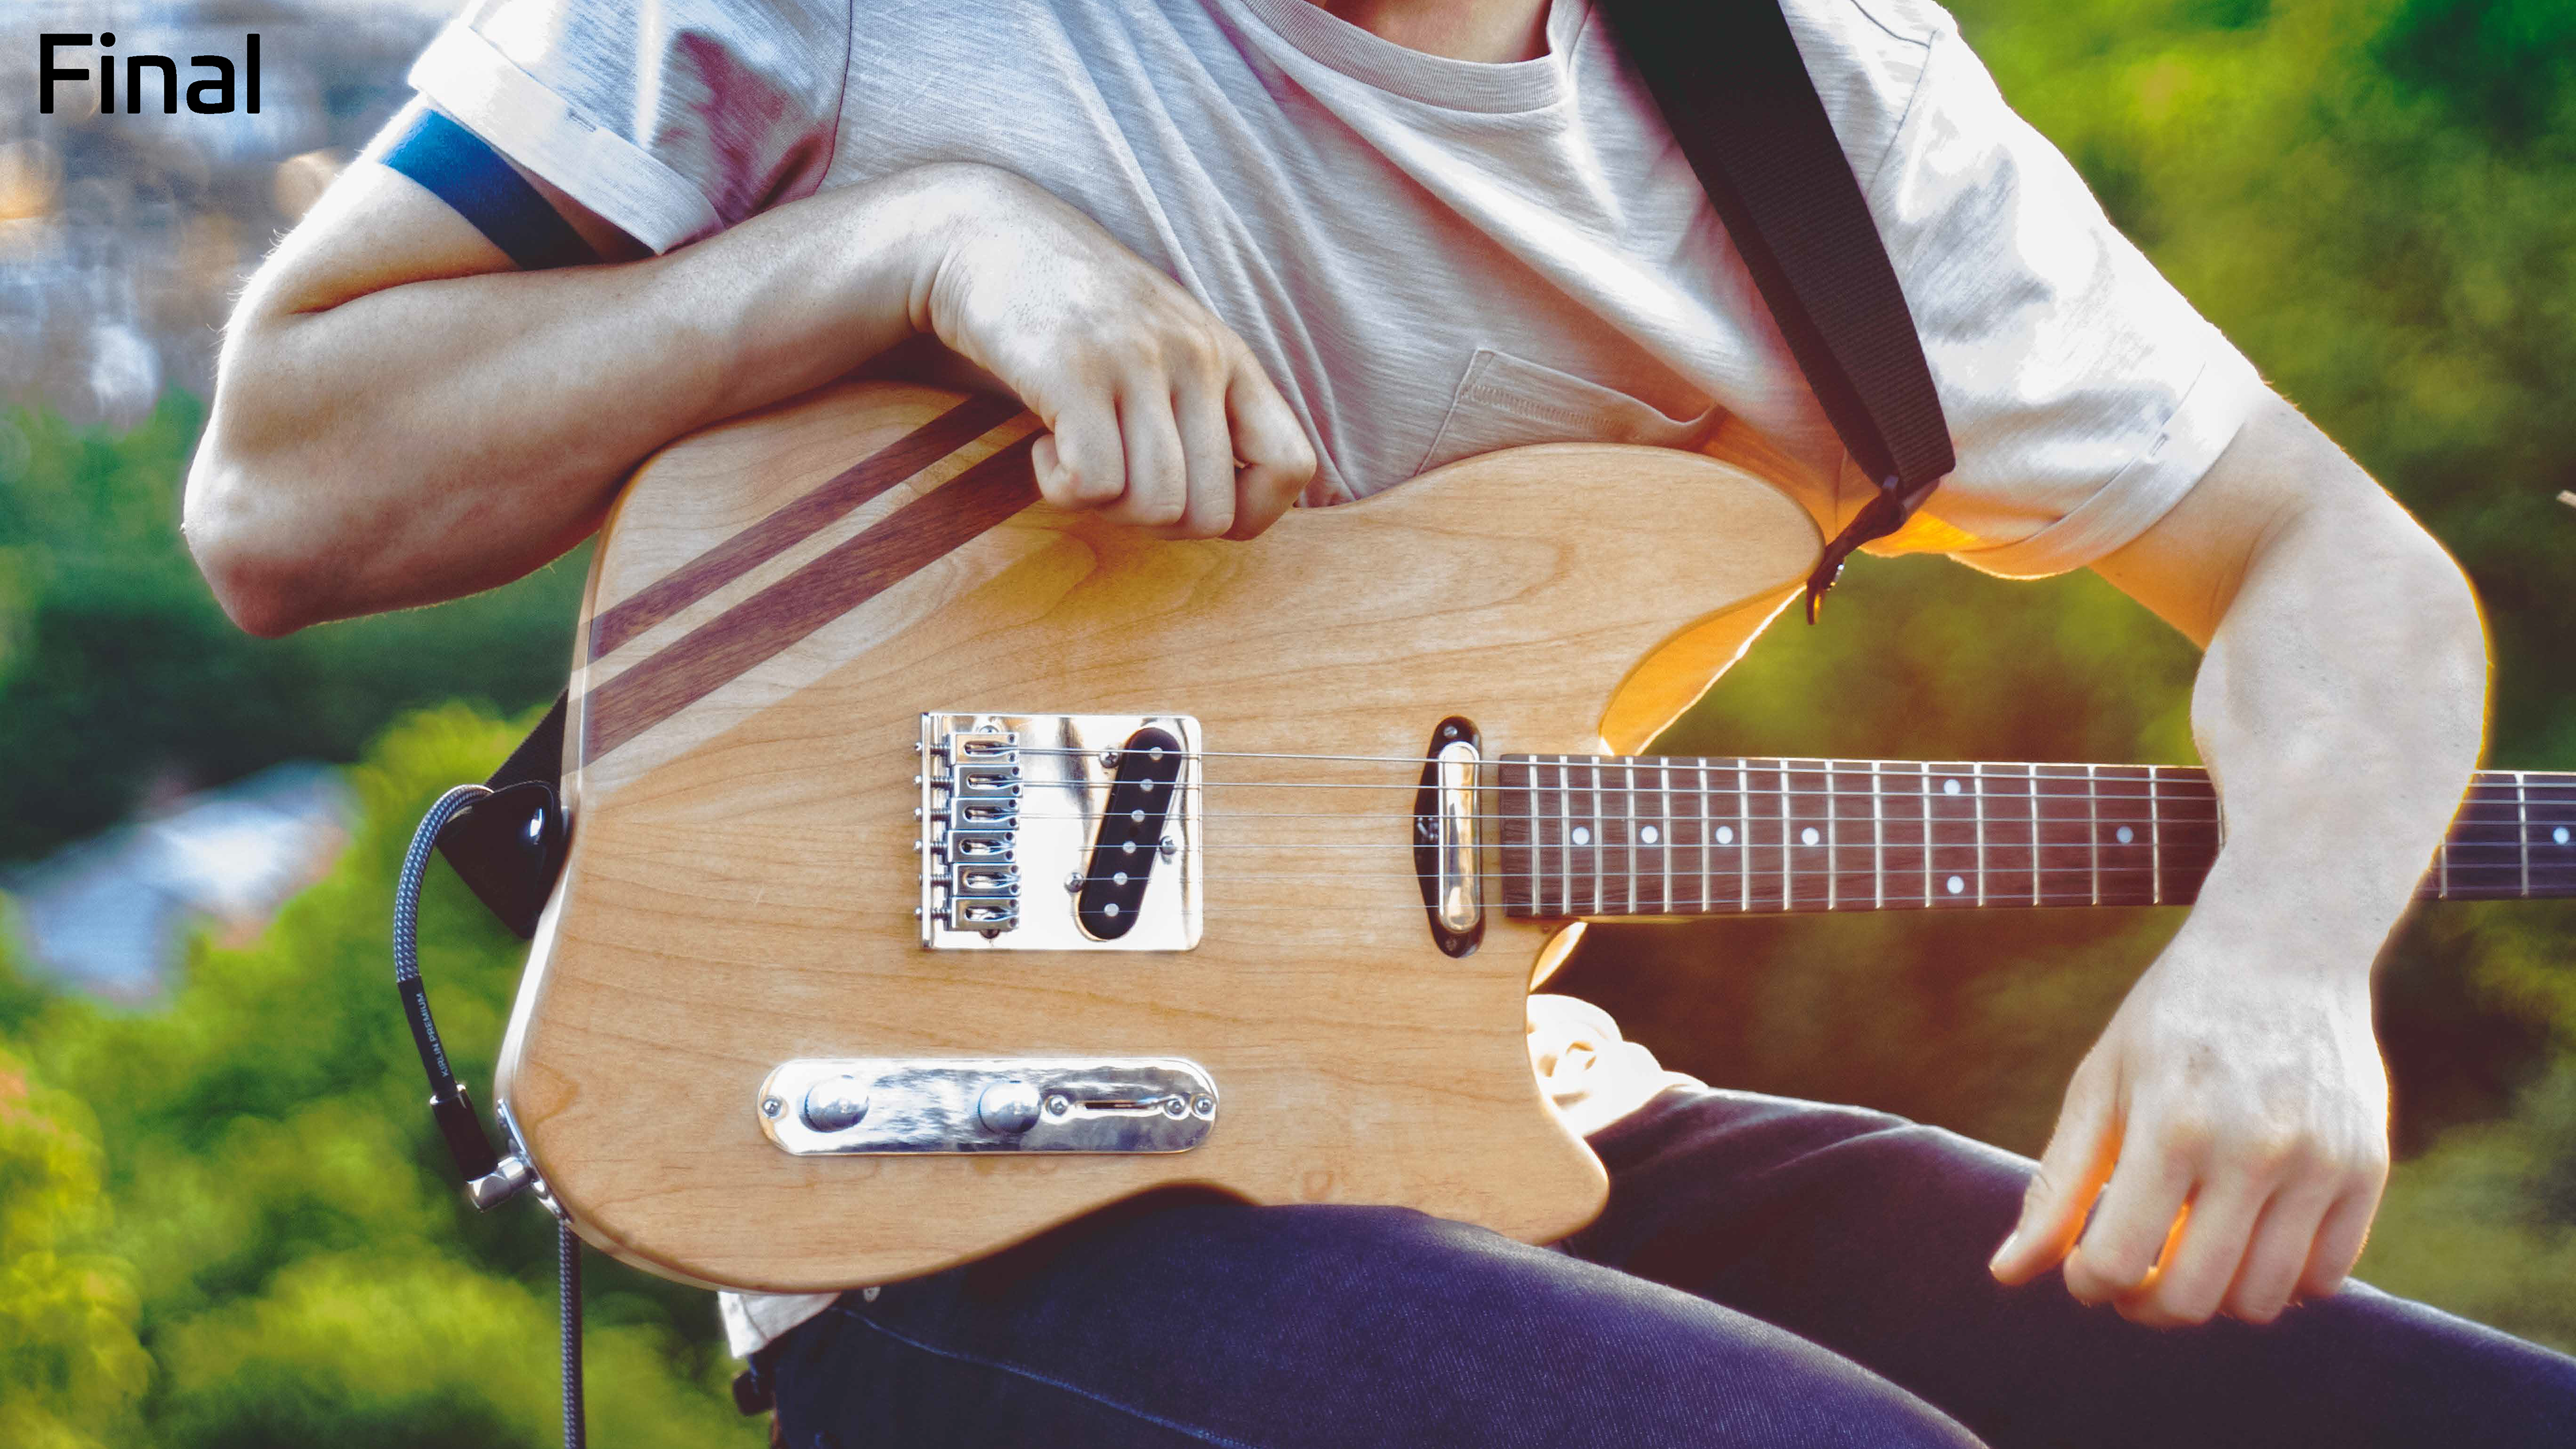
Throughout the process, I enjoyed being able to apply the skills I have learned in studying industrial design. I have been play guitar since I was in the 5th grade, and for almost as long I have been dreaming up and sketching guitar ideas. Now I have finally achieved my childhood dream of designing a working guitar and that sense of accomplishment is very rewarding.
One of the toughest aspects to deal with in this project was investing a lot of time and effort in doing something one way just to find out that it was the wrong way to go about it. There were plenty of times in the project where I had to backtrack and redo or fix parts of the guitar or design. I spent a lot of time going back and forth between my physical prototype and my CAD model, refining and reworking the ergonomics of my design. Some of the hardest moments came when modeling the guitar in CAD where I had to approached making the form a number of different ways before I was able to get useful geometry that I could properly cut on a CNC machine.
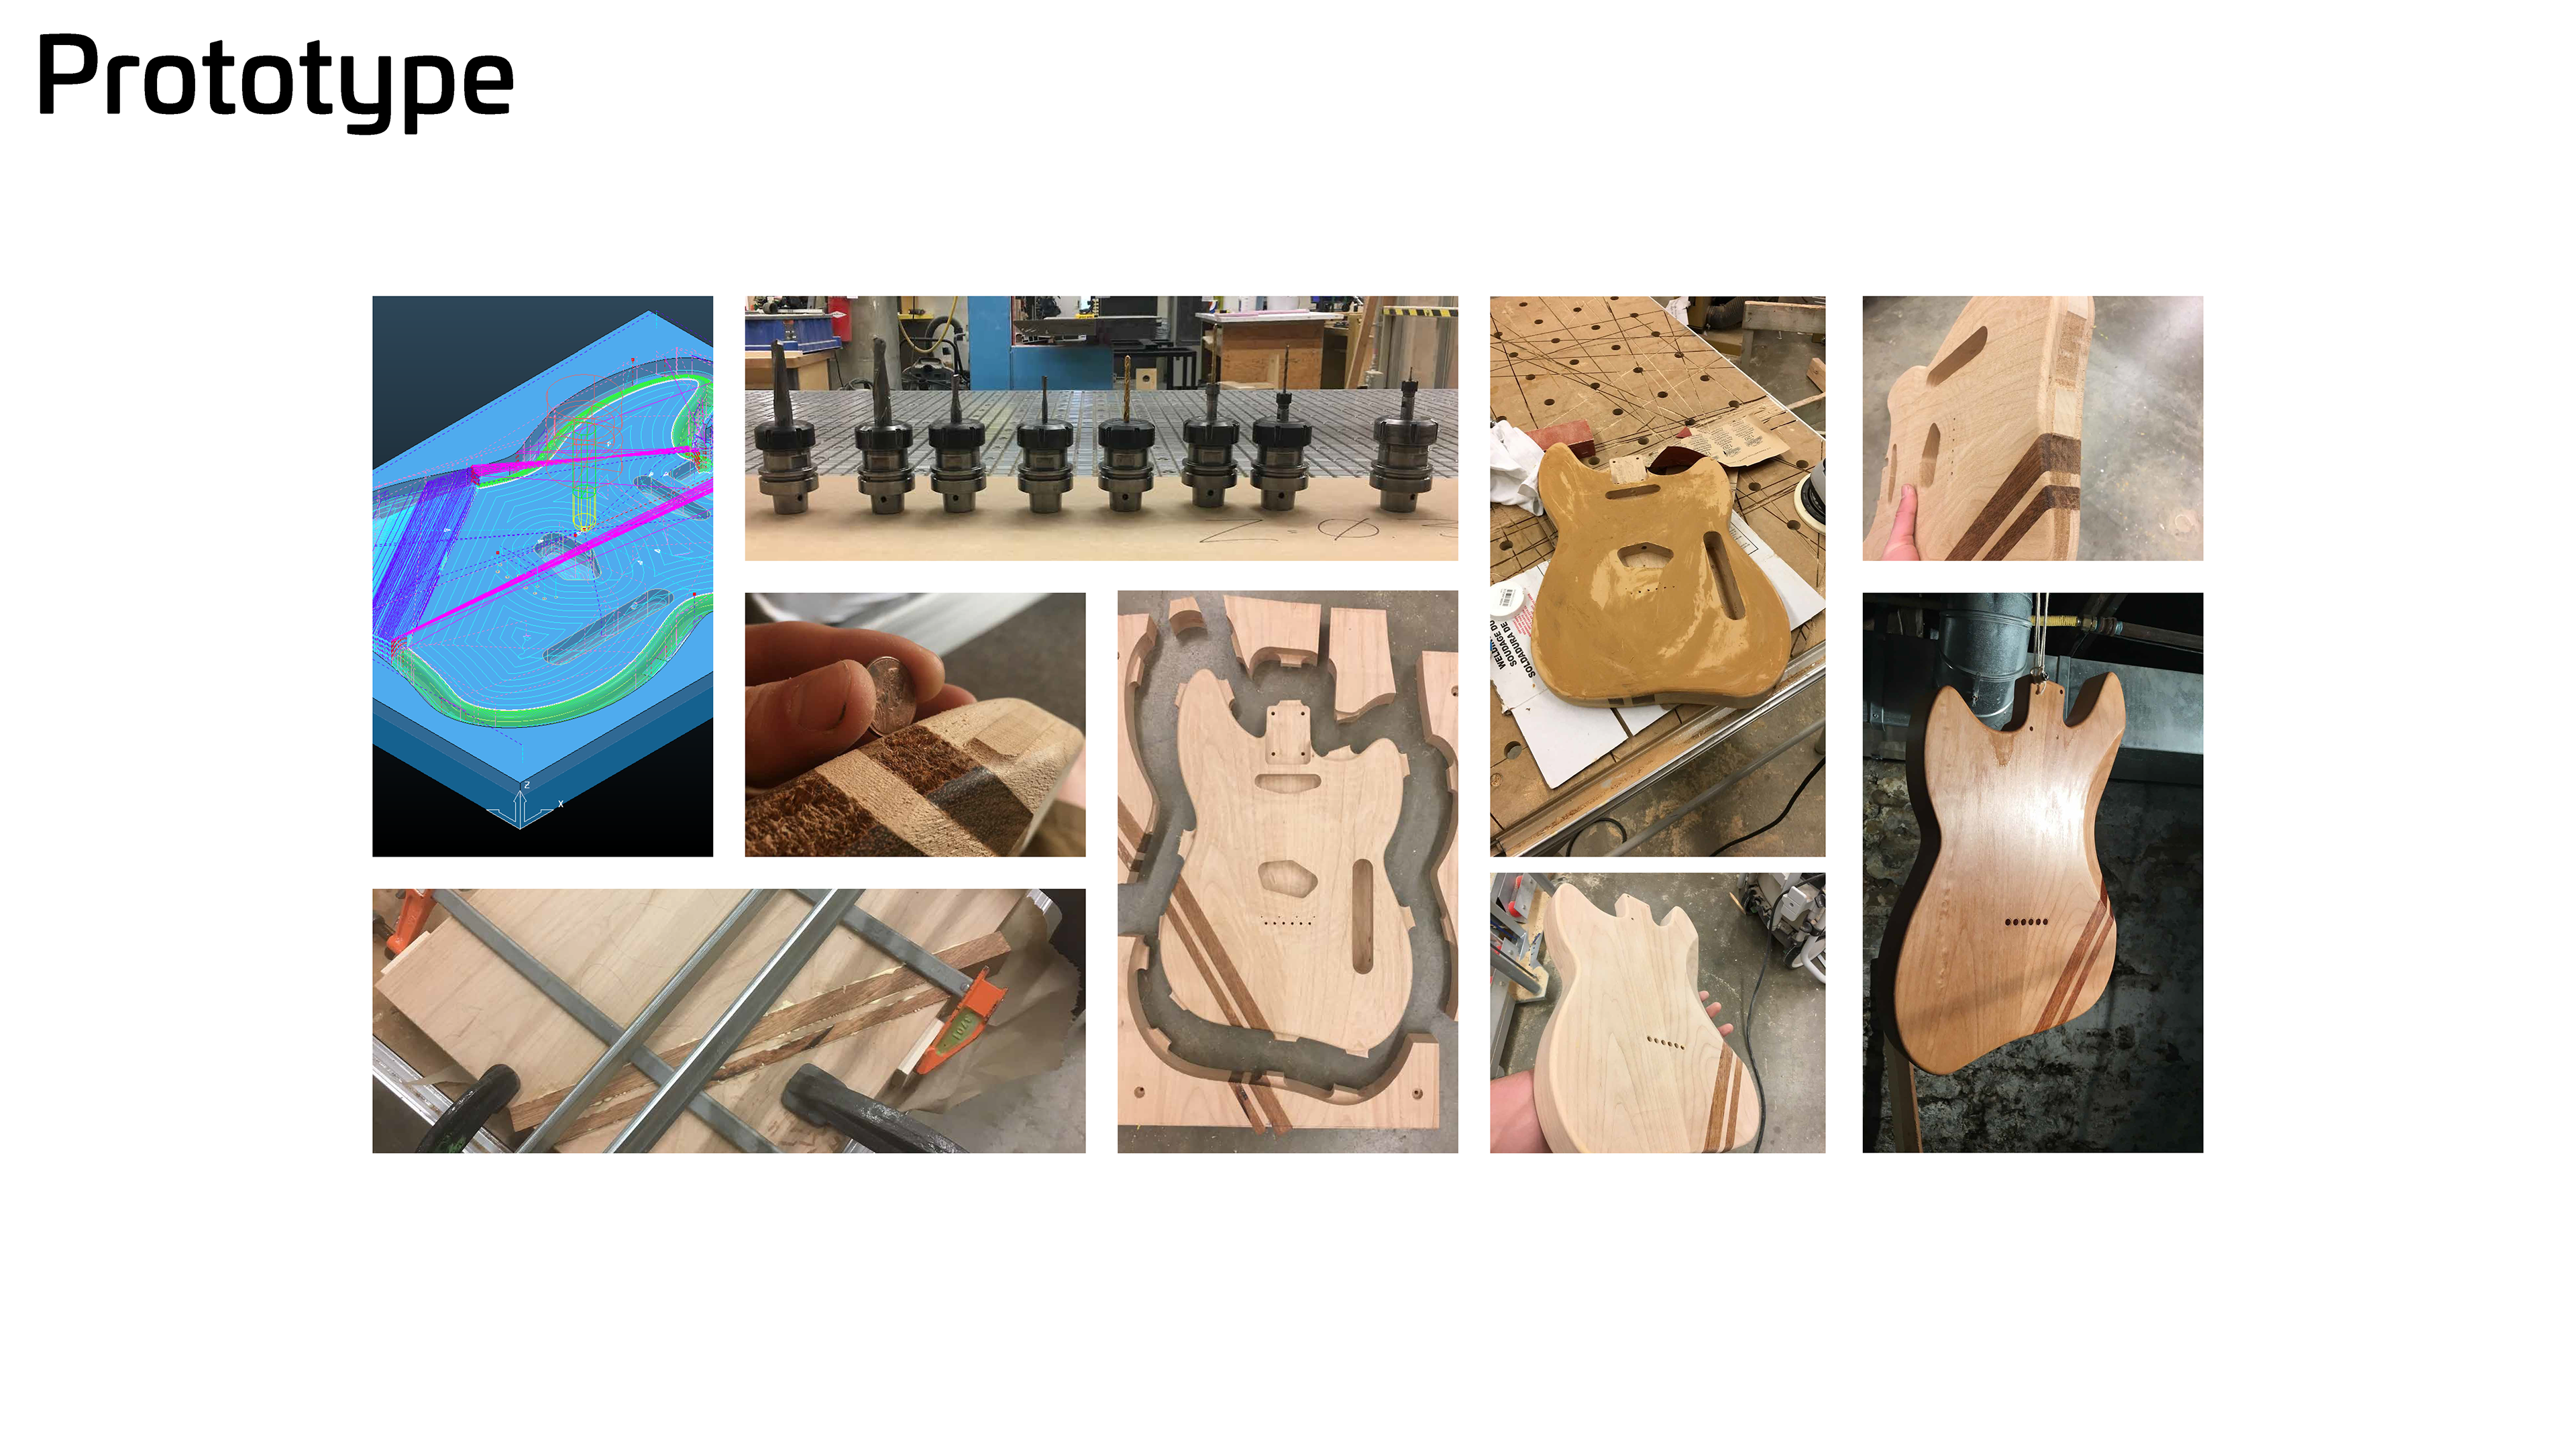
Through the project, I dealt with all sorts of unexpected complications and I got pretty good at rolling with the punches (and scouring the internet for answers). One of these moments was having to deal with chipping on the surface of the guitar after milling it out on the CNC. I ended up having to sand back most parts of the model and recut the rounded edges by hand. That being said, I know now better ways of approaching building guitars now if and or when I make another one.
Along the way of realizing this project, I picked up many technical skills. At the onset of the project, I had never used CAD software or set foot in a woodshop. In fact, my prototype guitar was made mostly by hand with the aid of a templet I had laser cut from an Illustrator (2D graphics software) file. The prototype served as my introduction to wood working. I developed a new-found appreciation for the craft in the hours I spent in the DAAP woodshop. However, it was there in the DAAP shop where I was introduced to what a CNC router could do. While I was working one night a CNC operator from DAAP’s rapid prototyping center was milling out a car model. I was amazed at how this machine could turn a block of material into a perfect car model. That’s when I decided I needed to polish my CAD skills and see what I had to do to utilize that machine to make my project. In the process of doing that, I ended up getting a job at the prototyping center running that very machine.
In addition to the technical skills, I also grew personally. This has been the first time I have juggled a long-term extracurricular project along with my regular school work. I would be remised if I didn’t say I experienced setbacks, for I had more than a few, including working without access to a shop on coop. As a result, the project dragged on longer than I had anticipated. That being said, I learned a lot in the process. I had to figure out how to be quick on my feet and fix problems or change directions when I faced obstacles. I like to think I matured through the process by becoming more self-driven. In fact, I hold these soft skills far above the technical ones I gained as they have applications far beyond that of just designing and building a guitar.
There is no shortage to the applications of the soft skills I developed. I have learned a lot from having to seriously think this project through from start to finish. During the project, I had to think about what step was next and how I planned to execute that next step. This planning and forethought is applicable to anything. I have found that I am already applying this to my day-to-day life. Now on co-op, I before I get to work, I think about what I have to accomplish and how I will accomplish it. As cliché as the phrase ‘internalize and execute’ is, I find that it is the key to delivering on responsibilities.
In a very direct way this project will be an important addition to my portfolio for my next job search. It demonstrates my ability to design, draw and style a product while also showcasing my ability to bring that design to life. This is very valuable as much of the time in industrial design it is one or the other, designing/styling or making/engineering, and this project bridges the gap between that ‘warm’ and ‘cold’ design. In a larger sense, this project has made me grow as an individual. By giving myself a challenge to accomplish and delivering on it, I have enabled myself to develop skills that make me more self-disciplined. This project has been a transformative experience and spurred me to grow in not just surface-level technical abilities but in a more abstract way as a person.
View presentation and feedback from the luthier community on reddit here
Communication and Leadership (spring 2016)
This past semester (spring of 2016) I had the privilege of taking and participating in a communication and leadership seminar specifically targeted at majors within DAAP. We practiced public speaking, perfected the art of the elevator pitch, investigated cover letters, explored how the way we dress affects how we are pre-saved, and practiced formal dinner etiquette and toast making.
I found how difficult it can be to communicate exactly what you mean to convey in a simple elegant way in a public speaking setting. This is especially true when trying to sound sincere and authentic, not like a scripted robot. This spurred me to develop my own system of notes for presentations short of a script but more than just bullet points.
Throughout the course this importance of concise communication held true. I was able to directly apply this concept to my studio critiques to better convey the my designs and the processes I took to achieve them.
Bellow is a sample of the notes I developed for my elevator speech. I designed it so that I had more substantial prompts for each talking point with strong concise phrases but more flexibility than a prewritten script. I did this so that I could retain more authenticity and sincerity in what I say than just reading a script.
Elevator Pitch
Ben Hoffman
Intro:
Name: Ben Hoffman
Age: 18
From: Columbus, Ohio
Studying:
First year studying Industrial Design at the University of Cincinnati school of Design Art Architecture and Planning (DAAP)
Industrial design is the process of creating objects and processes that people use, from cars to furniture
I intend to focus on product design
I have a wide range of interest:
I joke that I can speak geek in just about every nerdy thing there is to geek out about
I am incredibly curious so when I find something that interests me I try to learn all that I can about it
From music to photography, rock climbing to computer science
I am driven by finding connections among things -I have found that everything is connected and related
understanding of how cameras work can help me draw a better picture
color grading a video can help me understand how to properly mix a song
This is why I chose ID:
I discovered ID visiting a consulting firm with my school
I like learning new things and problem solving
Naturally I like the idea of working in consulting and being continually challenged to solve new problems
eVolve:
Currently In addition to my school work I am a cofounder in a business venture called eVolve through Bearcat Launchpad with students from varying majors
We are creating a wearable with a companion mobile app that will act as a unifying interface for the internet of things
Future:
Continue pursuing my interests
I plan on minoring in philosophy
Continue a personal project in design and building a guitar for my portfolio